If you’re considering installing a ductless AC system, you’re probably asking one important question: What actually happens during the installation process?
It’s a valid concern. Many homeowners worry about wall damage, installation time, or whether the process will disrupt their daily routine. The good news is this—ductless AC installation is one of the fastest, least invasive, and most efficient HVAC upgrades available today.
We’ve helped homeowners and property owners make this transition, and one thing is clear: once you understand the process, the hesitation disappears. In this guide, we’ll walk you through exactly what to expect, step by step, so you can feel confident and prepared.
Why Are Ductless AC Systems Becoming the Preferred Choice?
Before diving into the installation process, it’s important to understand why ductless systems are growing so fast in popularity.
According to the U.S. Department of Energy, duct losses from traditional central air systems can account for up to 30% of energy consumption, especially in older homes. Ductless mini-split systems eliminate this problem entirely because they deliver air directly into the room without using ducts.
This results in:
- Lower energy bills
- Faster cooling performance
- More precise temperature control
- Easier installation compared to central AC
This is especially valuable for older homes, home additions, garages, and offices.
Step 1: In-Home Evaluation and System Design
The first step in the ductless AC installation process happens before any tools come out.
A professional HVAC technician will evaluate your home to determine the right system size and placement. This is critical because improper sizing can reduce efficiency and comfort.
During this evaluation, technicians assess:
- Room size and layout
- Ceiling height
- Insulation quality
- Sun exposure
- Electrical capacity
- Best location for indoor and outdoor units
This step ensures the system will operate efficiently and deliver consistent cooling.
Recommended visual element:
Include a BTU sizing chart showing room size vs recommended system capacity.
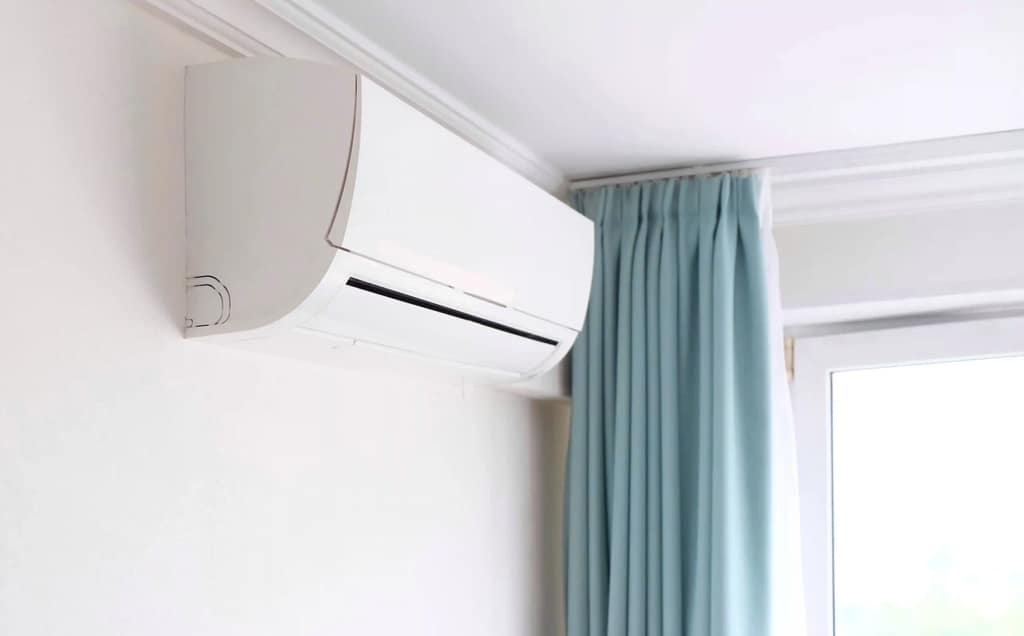
Step 2: Choosing the Best Location for the Indoor Unit
Indoor unit placement plays a major role in performance.
Typically, the indoor air handler is mounted high on the wall, about 6–7 feet above the floor. This allows cool air to distribute evenly throughout the room.
Technicians will choose a location that:
- Allows proper airflow
- Avoids direct sunlight
- Keeps distance from obstructions
- Provides easy access for maintenance
This placement ensures optimal cooling efficiency and comfort.
Step 3: Installing the Mounting Bracket
Once placement is finalized, the installation begins.
Technicians will securely attach a mounting bracket to the wall. This bracket supports the indoor unit and keeps it stable.
This process is quick and precise, typically taking less than 30 minutes.
Most homeowners are surprised by how minimal and clean this step is.
Step 4: Drilling a Small Access Hole
This is one of the most important steps—and also one of the least invasive.
Technicians drill a small hole, typically about 2–3 inches in diameter, through the wall behind the indoor unit.
This hole allows the connection of:
- Refrigerant lines
- Electrical wiring
- Drain line
The hole is sealed and insulated to prevent air leaks and maintain energy efficiency.
This step does not damage structural integrity and is standard practice.
Step 5: Installing the Outdoor Condenser Unit
Next, the outdoor unit is installed.
The condenser can be mounted on:
- A ground pad
- Wall bracket
- Raised platform
Technicians choose a location that ensures:
- Proper airflow
- Protection from flooding
- Easy maintenance access
This unit is responsible for releasing heat collected from inside your home.
Step 6: Connecting Refrigerant Lines and Electrical Components
This is where the indoor and outdoor units are connected.
Copper refrigerant lines carry heat between the two units. Electrical wiring allows communication and power.
These lines are carefully insulated to prevent energy loss.
This step ensures the system operates efficiently and reliably.
Step 7: Vacuum Testing and Leak Inspection
This is one of the most critical technical steps.
Technicians use specialized equipment to remove air and moisture from the refrigerant lines. This process is called vacuum testing.
This ensures:
- Maximum efficiency
- Proper refrigerant flow
- Long system lifespan
Even small amounts of moisture can reduce system performance, so this step is essential.
Step 8: System Startup and Performance Testing
Once everything is connected, the system is powered on and tested.
Technicians verify:
- Cooling performance
- Airflow strength
- Thermostat operation
- System pressure levels
This ensures everything works perfectly before installation is completed.
Homeowners often notice immediate cooling improvement at this stage.
How Long Does Ductless AC Installation Take?
Most installations are completed surprisingly fast.
Typical timelines:
Installation Type | Time Required |
Single-zone system | 3–6 hours |
Multi-zone system | 1–2 days |
Simple installations | Same day completion |
Compared to central air installation, which may take several days, ductless systems offer a faster and easier upgrade.
What Homeowners Experience During Installation?
One of the biggest concerns homeowners have is disruption.
Fortunately, ductless installation is minimally invasive.
You can expect:
- Minimal noise
- No major wall demolition
- Very little dust
- Fast completion
Most homeowners remain in their homes comfortably during installation.
Energy Efficiency Benefits After Installation
Once installed, ductless systems provide immediate efficiency improvements.
According to ENERGY STAR, high-efficiency ductless systems can achieve SEER ratings above 20, compared to older central air systems with ratings around 10–14.
This can reduce cooling costs significantly.
Recommended visual element:
Include energy savings comparison chart between central AC and ductless systems.
Long-Term Benefits of Professional Installation
Proper installation ensures:
- Maximum energy efficiency
- Longer equipment lifespan
- Lower repair costs
- Better indoor comfort
- Improved system reliability
Improper installation can reduce efficiency by up to 30%, according to HVAC industry studies.
This is why professional installation is critical.
Common Concerns Homeowners Have (And the Truth)
Will installation damage my walls?
No. Only a small access hole is required, which is sealed and protected.
Will installation take multiple days?
Most installations are completed in one day.
Is ductless AC reliable?
Yes. Ductless systems are known for long lifespan and consistent performance.
Will it increase my home value?
Yes. Energy-efficient HVAC upgrades improve property value and buyer appeal.
What Happens After Installation?
Once installation is complete, technicians will show you how to operate the system.
You’ll learn:
- How to use the remote or thermostat
- How to adjust settings
- How to maintain filters
Maintenance is simple and helps ensure long-term performance.
What Homeowners Should Expect Overall?
Ductless AC installation is one of the easiest and most efficient HVAC upgrades available today.
The process is fast, minimally invasive, and delivers immediate comfort and efficiency improvements.
From initial evaluation to final system testing, every step is designed to ensure reliable, long-term performance.
Most importantly, working with experienced professionals ensures your system is properly installed and optimized.
Perfection Contracting, Inc., with decades of HVAC expertise serving New Jersey and New York, understands exactly how to install ductless AC systems for maximum efficiency, comfort, and reliability. Their professional installation process ensures homeowners receive the full benefits of ductless technology while enjoying peace of mind and long-term performance.